


Are you still enjoying sunshine? thankfully here it is a little cooler now, though at times the heat still becomes unbearable... I find my self reaching for scraps of paper to waft myself cool....
What I needed of course is a pretty fan to do the job, so I made one.
This is absolutely not my invention, there are instructions for these all over the internet and youtube.
I wanted mine to be light and delicate, so I decided to use Deli paper. I wasn't sure how Letraset promarkers would react to the shiny dry waxed side, so I played around for a while and discovered they work great. They don't dry immediately like they do on more porous surfaces, this made them easy to blend.
So I started by taking 2 sheets of deli paper, and using Memento ink in black, I stamped all over the sheets with some flower stamps. {sorry I have no idea who these stamps are by, they are pretty old}

I then used the new limited edition Promarkers to colour and blend.
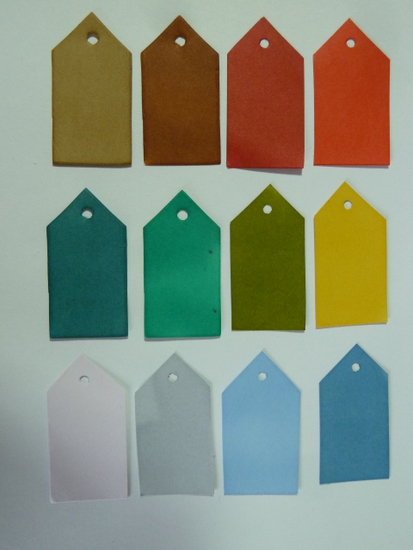
You will recognize some of these colours from other collections, but due to popular demand by Promarker fans these colours are now available in the Promarker bullet nib....Out of all the ranges this is my favourite nib, so I am pleased these colours have been added.

Once my flowers were all coloured in, I glued a second, blank, piece of deli paper to the back to add a little strength, then I added a light coat of matte medium to the front. This again adds a little strength.
Next I folded the papers, concertina style, and glued the 2 sheets together, making one larger piece.

Folded in half and tied with a piece of thread that has been coloured with one of the new markers.

Now I can shape the fan, glueing together the middle folds.

I cut 2 lengths of greyboard and coloured them with 2 of the new browns.
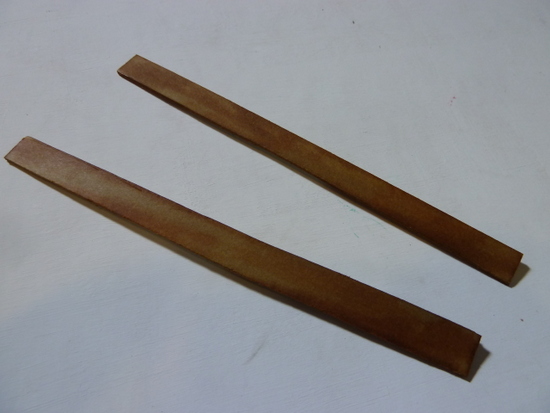
I stuck these onto the fan edges .

Once opened it looks like this.. it worked great, but needed something to hold the handle parts together.

Finally i punched a small hole in one of the greyboard sticks and added a piece of ribbon and 2 beads, these were all coloured with the markers.

The ribbon and beads hold the fan closed when not in use, but also hold the handle part together when the fan is being used.

Pretty and delicate and works perfectly.....ahhh cool breeze!

How are you keeping cool this summer? if you would like to make one of these, I have a set of the new markers to give away.

To be in with a chance of winning you must do TWO THINGS FOR ME
1. go to my post on the Letraset blog and leave a comment...CLICK HERE
2. Add your name to the linky below.


.gif)


This is just lovely love the homemade fan and that paper looks like alot of fun to colour on with the added blending time thanks for sharing
ReplyDeleteWhat a brilliant project! Must get me some of that deli paper and fab pens too!
ReplyDeleteFab idea! I've never used deli paper - where's the best place to get some from?
ReplyDeleteBeautiful Darcy! Sue C x
ReplyDeleteGreat and very useful project, looks fantastic! TFS:-) x
ReplyDeleteGorgeous love the fan you have made beautiful colour's TFS x :)
ReplyDeletefantabulous fan great project and thanks for the chance to win!!!!
ReplyDeleteI love practical art and this is gorgeous. Love the soft colours. We were getting nicely roasted here until August arrived and then summer vanished!! They say we may get some sun tomorrow. Here's hoping.....
ReplyDeleteso beautiful! I´ve always wanted to make one, thanks for the step by step tutorial. Love it♥
ReplyDeleteLovely.
ReplyDeleteFabulous idea! Love it :)
ReplyDeletewow, i love this fan. thanks for the tutorial :)
ReplyDeletebeautiful project.
ReplyDelete