Time for a journal page, this is not my usual kind of page. I generally don't do very busy,bitty pages, but I wanted to do something out of my comfort zone a bit. By the time the background was done I loved it, and I loved the stamped embellies... I am just not sure they go together. But it is done, and I am going with it, that's the only way to learn what we like and what we don't right?
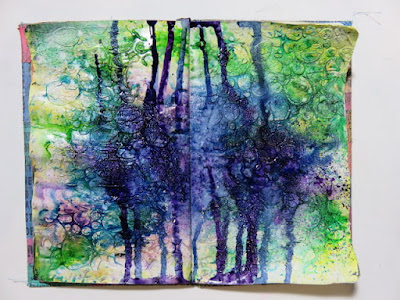
I began by stencilling the 'Art is' stencil all over the double spread using black gesso.


Next I added the stencilled circles using Dreamweaver crackle paste. I am not overly thrilled with this paste, it always seems, well.. just a bit lazy to me, I guess that sounds silly lol. it's almost like it can't be bothered to crack! I am never really impressed with the cracks from this, so i am still on the hunt for a really great crackle paste.


Once the paste was dried and half heartedly cracked, I added a wash of Limelight Fresco paint, then some Snowflake to knock back the citrus colour.


I had been talking with Leandra about how to make Brushos more permanent, and so decided to use some gum arabic. I have the liquid version. I painted it over the page and then sprinkled on some Brusho powders. To activate the powders I then sprayed them with more gum arabic.


( I was hoping trapping the powders between the 2 layers would hold them. but right at the end I went over some areas with a damp brush and the colour still came up. So I am not sure how effective the gum arabic was)
The page was very wet at this point, so I used my heat gun on high, and really aimed it at the paste circles. I was thrilled to see them bubble , I guess it was the coating of gum arabic. Anyway I ended up with dragon skin!!!


There was at this point a distinct smell of cooking/baking, kind of sugar, like toffee apples. I am assuming that was the heat on the gum arabic. It is a natural product and is used in many food items. but here all we were cooking was dragons.

I then sprayed and dripped Adirondack sprays in Denim and Purple Twilight, and flicked on a little snowflake paint.

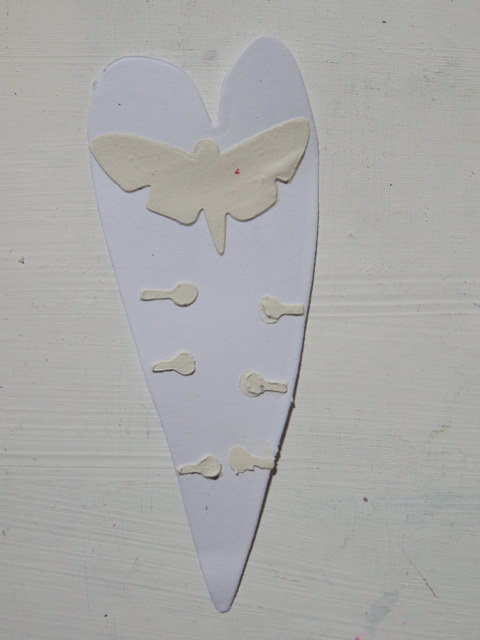
I took a die cut heart and added grunge paste through PS029 to get a small butterfly. I also added the knobbly bits from around the lollipop flowers on PS030. On their own they look like tiny keyholes!!!


I painted this with Mermaid, Bora Bora, Beach hut, South Pacific, then added a little Treasure Gold.
I painted fabric with Bougainvillea, Lilac and Captain Peacock, then I stamped the spikey flower from EDY18. I also stamped the text from this set.


I painted fabric with Bougainvillea, Lilac and Captain Peacock, then I stamped the spikey flower from EDY18. I also stamped the text from this set.


On some old scraps of painted paper I stamped the wings from EDY17, I kept them whole to start with but by the end I had cut them down smaller.


I wanted to use the dotty circle border, so i stamped that all over some painted fabric and then cut arrows from the fabric.


Now I loved the background, but my flowers and heart didnt not look right over the busy background, so to tame it slightly I added some book pages. Then I glued on my focal pieces.


To embed them more into the page I added white circles using paint and a lid, I also added some white using bubble wrap, and finally some black splatters. To finish I edged the pages with the 'torn paper' edge stencil PS031


As I said, a bit different for me, usually I have a proper focal point or the page tells a story, this one is much more abstract. The only thing I really like is the Dragon skin and I will be using that again on my papier mache snail.
Darcy x