Showing posts with label prisma pencils. Show all posts

Saturday, 20 August 2016

Patterns

Another page in my PaperArtsy junk journal, this one is all about patterns. For this page I have drawn and coloured a Mandala. 

First with pencil and a compass.. 


Going over the lines with a medium grey fineliner. 


Starting to colour with Prisma pencils


More colouring..


Adding in more colours, plus shading with darker pencils. 


Once I had finished colouring I added Infusions tot he outside edges


Not sure I liked it, the outer edges looked  a bit grungy.


So I used white paint to go over the Infusions, as they are water reactive they merged with the paint and created a pleasant pale green background. 

I then added the black stripes. 


I really love this page. 
Darcy


Thursday, 7 May 2015

Colouring in...

Dede style...

Do you know Dede Willingham? she is a very talented and lovely lady who gives her time and experience freely online. She host a regular live show on Ustream, and uploads the recordings to Youtube. Last week she invited people to colour in alongside her. 

On her blog she offered this sketch of 'Amelia', which the viewers were advised to print out onto tan coloured paper.  {print this sketch}

Then over the course of 3 days, and 3 live shows, Dede showed how she would colour in a portrait... and the viewers coloured along with her. 


If you love faces, or colouring in or you are a beginner looking for tips then I urge you to print out the sketch and follow along. 

It has been ages since I did a face, there has just been so much other stuff to do. I have definitely missed it, so thought I would play along. it isn't my preferred style, but it is always a good thing,I think, to try new styles.. and to see how other people work. You can always pick up lots of handy tips to use in your own work. 

So for a bit of fun, and just to generally join in, I decided to print out the sketch and follow along. 

This is the sketch, remember I did not draw this, it is a print out of Dede's sketch. 


Dede also gives a list of colours to use, I have a mix of Prismas and Derwent Coloursoft. 

To get Dede's list of colours and numbers go HERE{from 5 mins onward}

These are the colours that I had. 

White, Black, Dk Grey, Mid Grey, Blue Grey
Dk Brown, Burnt ochre, Terracotta, Rose
Purple, China Blue,Caribbean Sea Blue, Sky
Indigo, Yellow Ochre,Peach,Lt.Peach
Ginger Root, Peach Beige


Make them nice and sharp. 


Doing the eyes first, then adding white highlights. 


You will also need acrylic paint as an undercoat for the dress and bow. This is where we got to at the end of video 1. 


Doing the hair and a little shading on the face. 


Love,love those eyes. 


This is where we got to at the end of Video 2. 


and here is the finished portrait, it really was fun to play along. Thankyou Dede. 


Next week, Dede is doing another colour-along class, and this time she is drawing me!

Come and play along. HERE is Dede's Ustream channel. 

Darcy x

Friday, 20 January 2012

Postcard Challenge 2012

Here we are week 3. I am really looking forward to seeing all your postcards from Brazil.

Here is mine.

This is how the page looks in my book, it is an envelope with the flap cut off.

the trees were lightly sketched then coloured with black acrylic ink.


Here with the card inside... the outside edge is just a thin wash of watercolour with a doodled line around done using a stabilo pencil.


The front of my card with carnival girl. She is super,super sparkly, it just doesn't show well on camera.

She is hand drawn onto very smooth card, then coloured with promarkers. The glitz was added using sparkly gel pens that were in a set i got from the supermarket. if you are in the uk , ASDA, I think they were £3.60 for a pack of 30 pens, some regular, some metallic and some sparkly. I wasn't sure how well they would work, as they are not a named brand like sakura or signo...but they actually work really well. a really cheap way to add sparkle.

I drew the feathers in last with prisma pencils..


and finally the back....what is it these 2 are up to i wonder...hmmm


HERE IS WHERE YOU LINK UP... Add your name and link to the specific blog post where your photos are to make it easier for people to find. Then have a fun week visiting everybody and leaving lurve.


The link will stay active until next Friday. 

Monday, 14 November 2011

Lil girls luv christmas...

On Friday the wonderful MANON...very generously gave us a free class over on Amy's channel.  Manon showed us how she paints her little girls, and we all had a go at them. I have to say it isn't easy arting along, trying to find the right colours, and watch and listen and type in the chat box ....but we did have a great time.

This is my lil girl from that night, so easy and lots of fun to do.


I am making an altered book along with Amy, OVER HERE...why don't you come and join us...

I tipped my lil girl into my altered book..


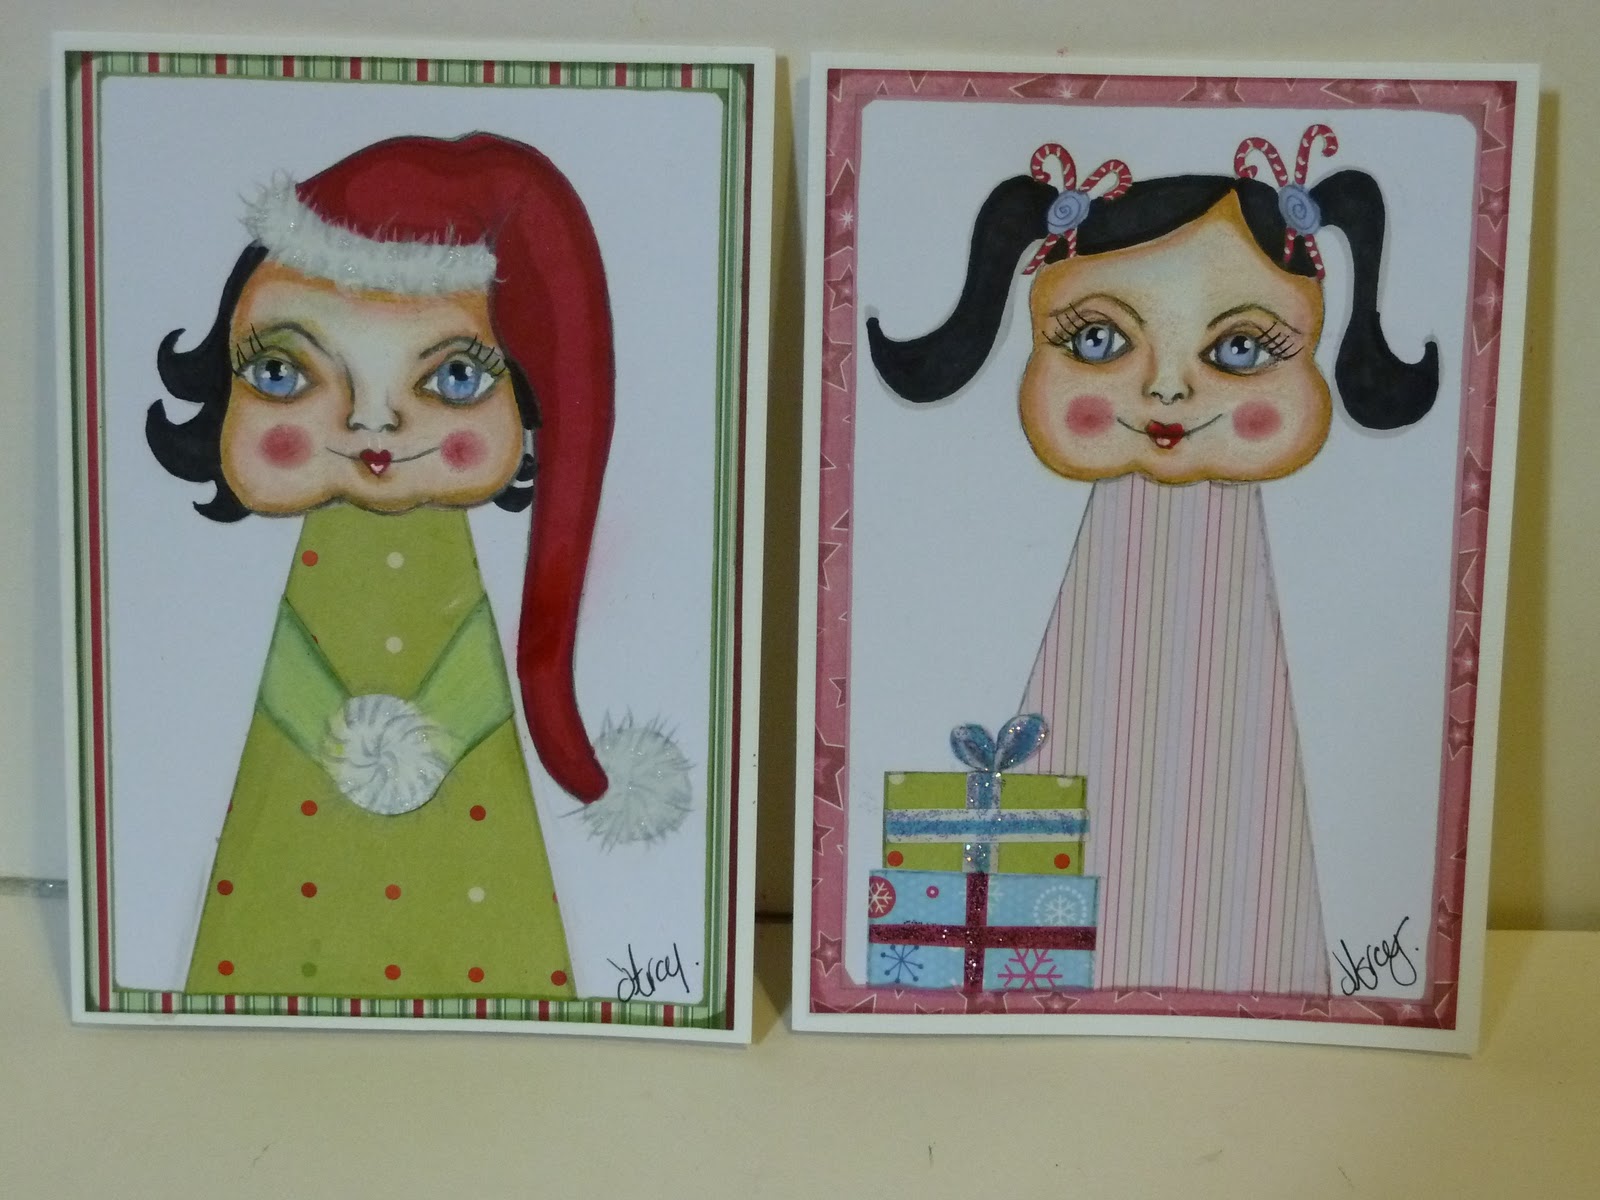
I wanted to make more lil girls, and decided to make some into Christmas cards. Having done the larger one in the class, it was easy peasy to do them again on a smaller scale.

The first two..


I love them...so I made another two...


Seriously I freaking love them....two more...


uh oh...cannot resist...must make more...lol


hee hee just can't stop...


ok these are the last ones, I swear...


Why don't you go watch the class then you can make them too.

Manon will show you how to draw the face, colour it with promarkers, blend out with gesso and shade with promarkers.

I  don't think shading over gesso is a good idea with promarkers though, I have tried it before and it kills them, so I have changed these up slightly and I do my first layer with promarkers, then gesso then shading with prisma pencils.

Wednesday, 11 August 2010

Hello Wednesday, how are you?

Cleanish desk over here...the floor is another matter. Here you can see a cup of tea, my new ipod docking station(playing Romanian music as I type) and in the background is my new pencil box.

Warning, the rest of this post is photofull...but do feel free to stick around and look through them if you want to know how I made my pencil box, and more importantly why!


I have quite a few prisma pencils, also some karisma pencils, which are the uk equivalents. I have had the karisma for years and years, and sadly they are very hard to find now, so to complete the set I am having to mix them with prismas...this is bad enough...( I don't like that they aren't all the same style/shape)

but they were all in boxes in drawers, then to make life easier, so I thought, they were all put in one big box.

This resulted in lots of rattling, mainly by me, scrabbling around for the right colour, which is usually always at the bottom...I craft late at night, into the early hours...scrabbling and rattling at 4am is not advised. I generally hear lots of hmmphing and sighing and turning over from Ian in the next room.

So I got a few toilet roll inners, separated the pencils into colour groups and stood them up in the box. this was great , as in I could see all the colours, no more scrabbling...but bad, in that the box was a bit big and every time I so much as looked at it, all the rolls fell over, rather drunkenly!

PLUS...and this is where I give you far too much info about myself, the cardboard rolls were all from different brands of loo paper, and so were all different sizes. See next photo...


You cannot begin to imagine how much this annoyed me...this brings us back to liking things in sets!!!

So, firstly I unwrapped 2 rolls of Ikea wrapping paper, carefully rewrapping the paper onto a third roll, which incidentally is now huuuge! This gave me 2 long, white ,sturdy tubes. I cut them up into same size sections, immediately I felt much better lol I filled them with pencils and facebooked about how I had just spent an hour sorting pencils...I need to get out more!

It gets worse!


The box, if you remember was too big, so i hunted out a smaller box. This meant displacing some
silk dyes and glass paints, which I chucked into another box. I dare say they will lurch around drunkenly now, but they are in a cupboard so I won't see it happening.

I had to arrange the rolls in the box so they made a pleasing pattern...and not be higgeldy piggeldy, cos that would have driven me nuts...I know,I know!

Then I covered the box in this scrummy paper from Art from the Heart. at this point it is looking like a badly wrapped xmas present.


The box is slightly longer than 6 inches, so I was left with a gap at each corner.

I cut these strips, taking a snippet out from each end...


So they would bend over the box ends and fold over themselves.


I did this on all 4 corners and then covered the base of the box.

next I painted the rolls in the colour groups of my pencils. You could cover them in paper, but really hardly any of the rolls will be seen later...and besides it was an excuse to get painty. I suggest if you have small children that you get them to do this, it will keep them quiet for ages...worked for me, I have never been so quiet!


I painted a little of the insides, but only about a quarter of the way down.

next I got a couple of really strong brads, these are especially good as they have the little discs that slip over the legs before you open them out.


I cut a piece of brown webbing, about 50cm long, folded over the ends and bradded them to the box.


I popped some glue onto the bottom rim of each tube and pushed them down into the box, holding them in place for a few minutes till they started to set.

and finally filled it all up with pencils...


The handle swivels on the brads so you can move it out of the way.


No more rattling or scrabbling in the dead of night, all pencils are sorted into colour order...phew! and the whole thing looks quite pretty, almost makes up for them not being a complete set lol

Monday, 9 August 2010

When is a journal page not a journal page?????

when it is a birthday card. I have a lovely Romanian friend, currently living in the UK, but who is moving to Spain very shortly. It is her birthday before she leaves, so this card is for her.

Firstly I painted a union jack, quite thickly using acrylic paint.


I love the texture, the colours don't matter so much as this won't be seen in the final piece, it is just a base...and as she is in the UK, and this is from a person in the UK, it is a fitting base.


Next a layer of white acrylic, dry brushed.


On some cartridge paper, I drew the little girl.


and coloured her in using promarkers.


Then I cut her out. The hearts she is holding are in the colours of 3 flags, romanian,british and spanish.


see how thick the texture is.


the little girl is glued onto the background


needs more texture, so creased tissue paper is added. I also added yellow acrylic to the girl's hair.


The background is brushed over with white acrylic. Blending in the edges of the little girl.


This is where I got carried away and forgot to take photos. The next stages are to stamp all over the background, then add a layer of paint, then more stamping, then more paint, then more stamping then more paint.
I used heart,flower and butterfly stamps. You can just see tiny faint images of them thru the layers of paint. I love how they are all there but hidden. Go to http://www.willowing.org/ to see more of this technique.


I then printed out the text on the computer, using different fonts for each word. I glued them on
and edged each word with pencils. I then went over all parts of the girl with prisma pencils, shading and reshading.


Finally I added stickle dots above and below her eyes, some glass gems inbetween the words and some glossy accents to the hearts.


The page is then mounted onto very dark,shimmery blue cardstock and finally mounted onto a linen white card blank.


The words read...Fată a zis “ bună dimineaÅ£a Lume, este ziua mea!”

Lumea a răspuns “La MulÅ£i Ani,fată”

which translates roughly as...
The girl said " Good Morning world, it is my birthday", the world replied " Happy Birthday girl"
Pretty sure it is not grammatically correct, but I m sure she will forgive me lol